
How to Become a Flipkart Seller in 2026 The Ultimate Step-by-Step Guide

In 2026, India’s e-commerce landscape is more vibrant than ever, and Flipkart remains a titan in the space. With recent updates like 0% commission on products below ₹1,000, there has never been a better time for small business owners and entrepreneurs to jump on board.
If you’re looking to scale your business nationwide, here is your comprehensive, step-by-step guide to becoming a Flipkart seller.
1. Check Your Eligibility
Anyone selling new and genuine products can register. You can sign up as:
- An Individual/Sole Proprietorship: Best for home-based entrepreneurs.
- A Private Limited Company: For established businesses looking to scale.
- Partnership/LLP: For ventures with multiple owners.
2. Prepare Your Paperwork
To make the registration process seamless, have the following digital copies ready:
- GSTIN: Mandatory for most categories (except some books).
- PAN Card: Personal PAN for individuals; Business PAN for companies.
- Active Bank Account: A cancelled cheque or bank statement is required to verify your account for payments.
- Address Proof: Aadhaar card, electricity bill, or rent agreement.
- E-Signature: You will need to “draw” or upload a digital signature for automated invoicing.
3. The Step-by-Step Registration Process
Follow these steps on the Flipkart Seller Hub:
- Sign Up: Enter your mobile number and verify it via OTP.
- Verify Email: You’ll receive a link to verify your business email address.
- Onboarding Details: Provide your GSTIN and pickup pincode. This pincode determines if Flipkart’s logistics partners can service your area.
- Bank Verification: Enter your account number and IFSC code. Flipkart may deposit a small amount (like ₹1) to verify the account.
- Store Details: Choose a “Display Name” (your brand name seen by customers) and write a short description of your shop.
4. Understanding the Fee Structure (2026 Updates)
Flipkart has significantly lowered the entry barrier this year. Here is how you’ll be charged:
| Fee Type | Description |
| Commission | 0% for products under ₹1,000. For higher values, it ranges from 1% to 15% based on category. |
| Fixed Fee | A small flat fee per successful order (approx. ₹15–₹60 based on your seller tier). |
| Shipping Fee | Based on weight and distance (Local, Zonal, or National). |
| Collection Fee | A small % charged for processing prepaid or COD payments. |
Pro Tip: Use the Flipkart Seller Calculator on their dashboard to estimate your “In-hand” profit before you set your final price.
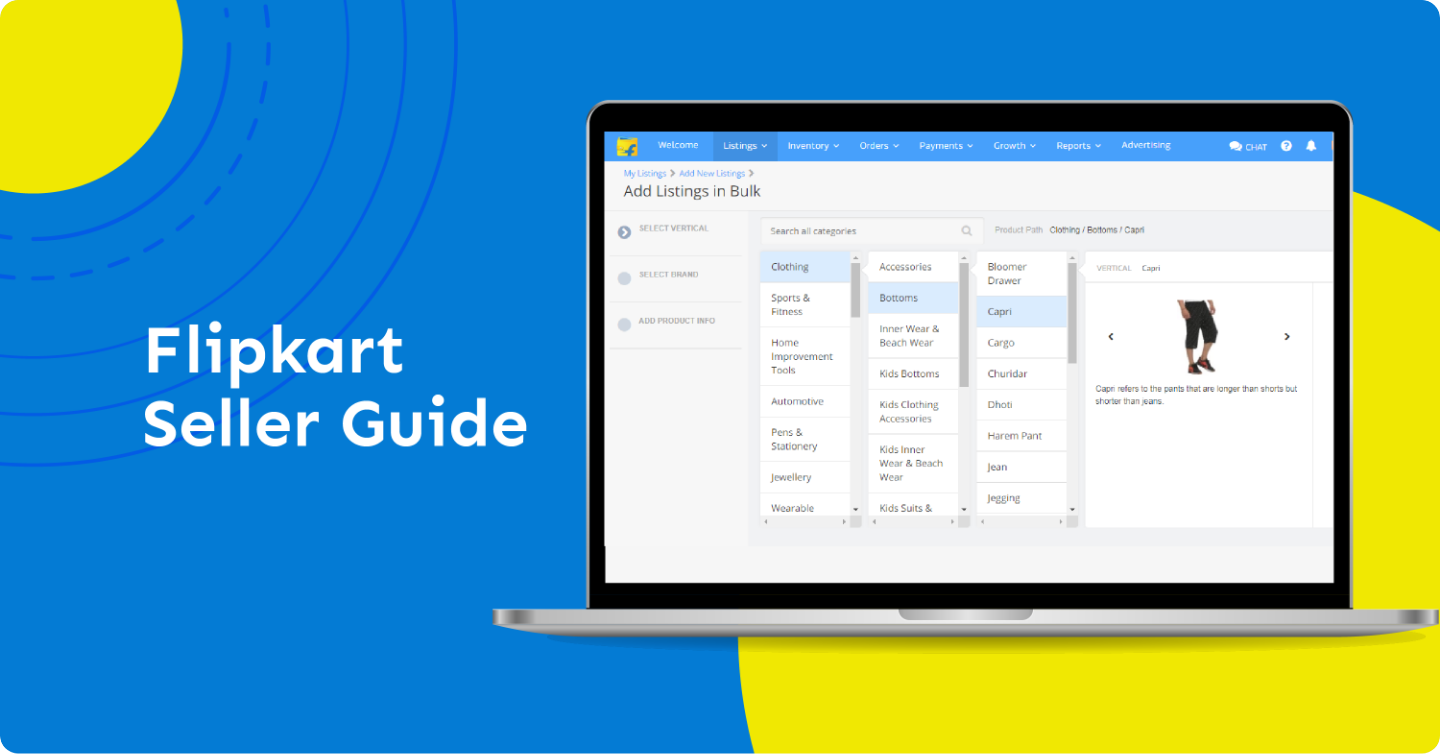
5. Listing Your First Product
Once your account is active, you need to list at least one product to go live.
- Quality Images: Use a white background. High-resolution photos reduce returns.
- SEO Descriptions: Include keywords that customers actually search for (e.g., “Cotton Summer Kurti for Women”).
- Pricing: Set a “Listing Price” and a “MOP” (Minimum Operating Price) to stay competitive during sales.
6. Managing Orders & Logistics
When you get an order:
- Pack it: Use Flipkart-branded or neutral packaging material.
- Label it: Print the shipping label and invoice from your dashboard.
- Dispatch: Mark the order as “Ready to Ship.” A Flipkart logistics partner (Ekart) will pick it up from your doorstep.
- Get Paid: Payments are usually settled within 7–15 days of the product being delivered.
Why Sell on Flipkart?
- Access to Millions: Reach over 450 million registered customers.
- Seller Protection Fund (SPF): Protects you against fraudulent returns or damages during transit.
- Advertising Tools: Use “Product Listing Ads” (PLA) to show your items at the top of search results.